|
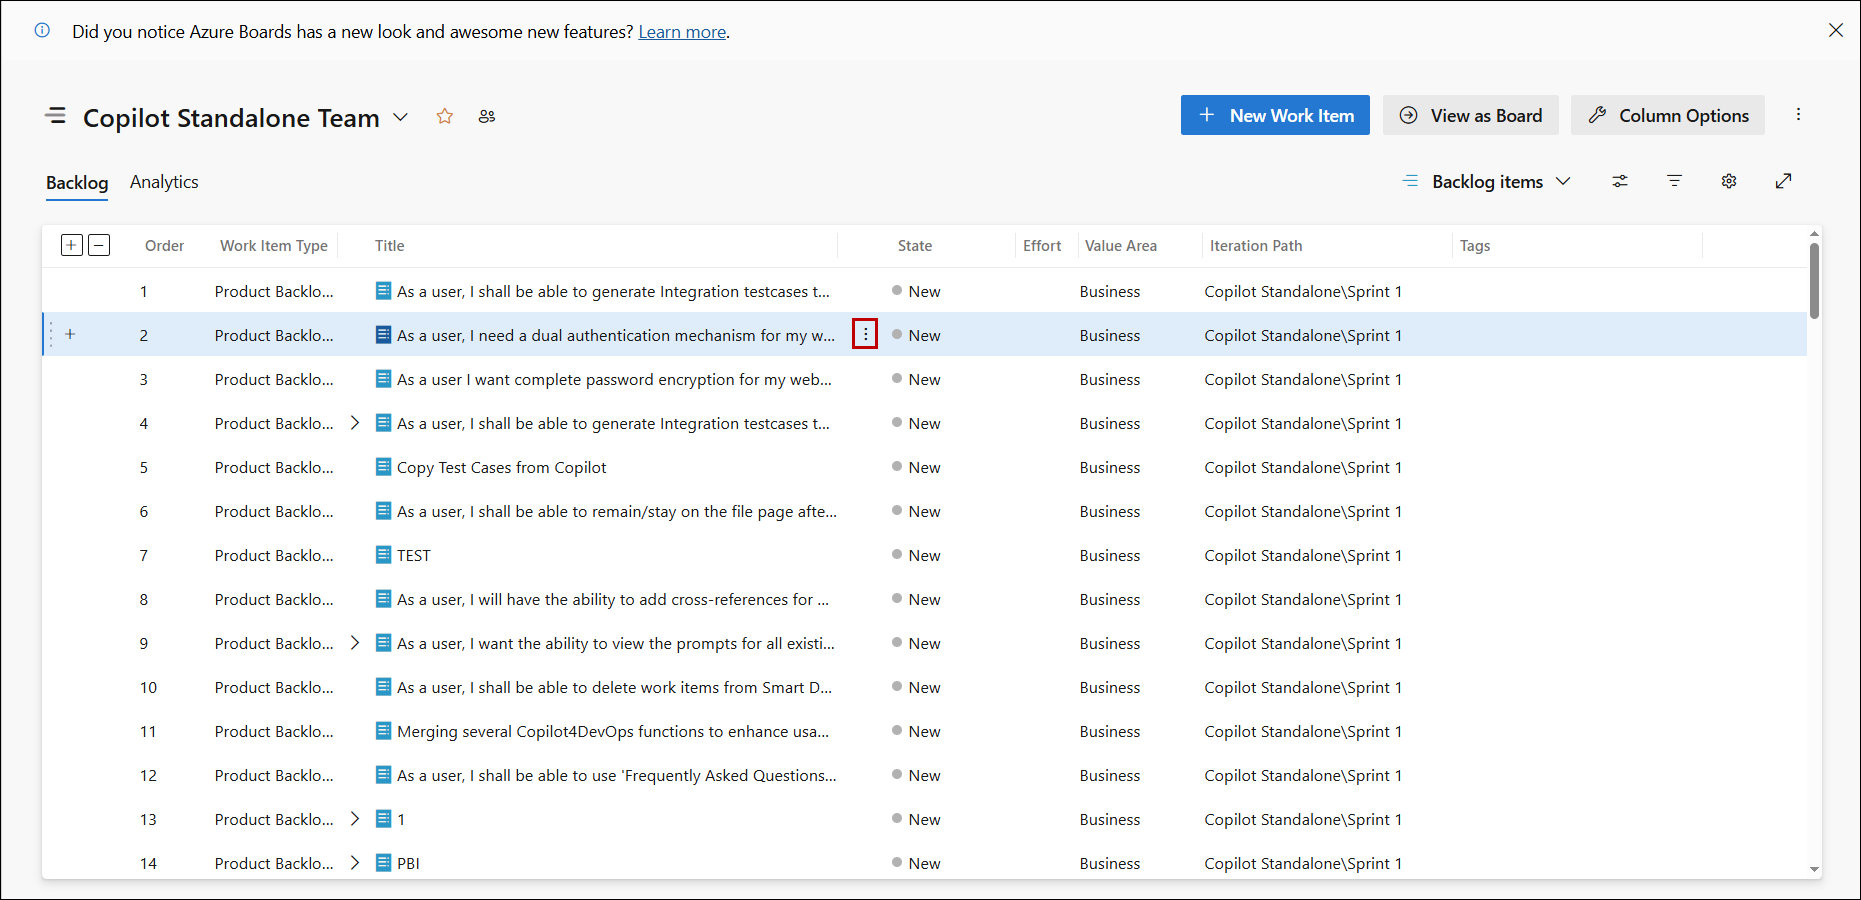
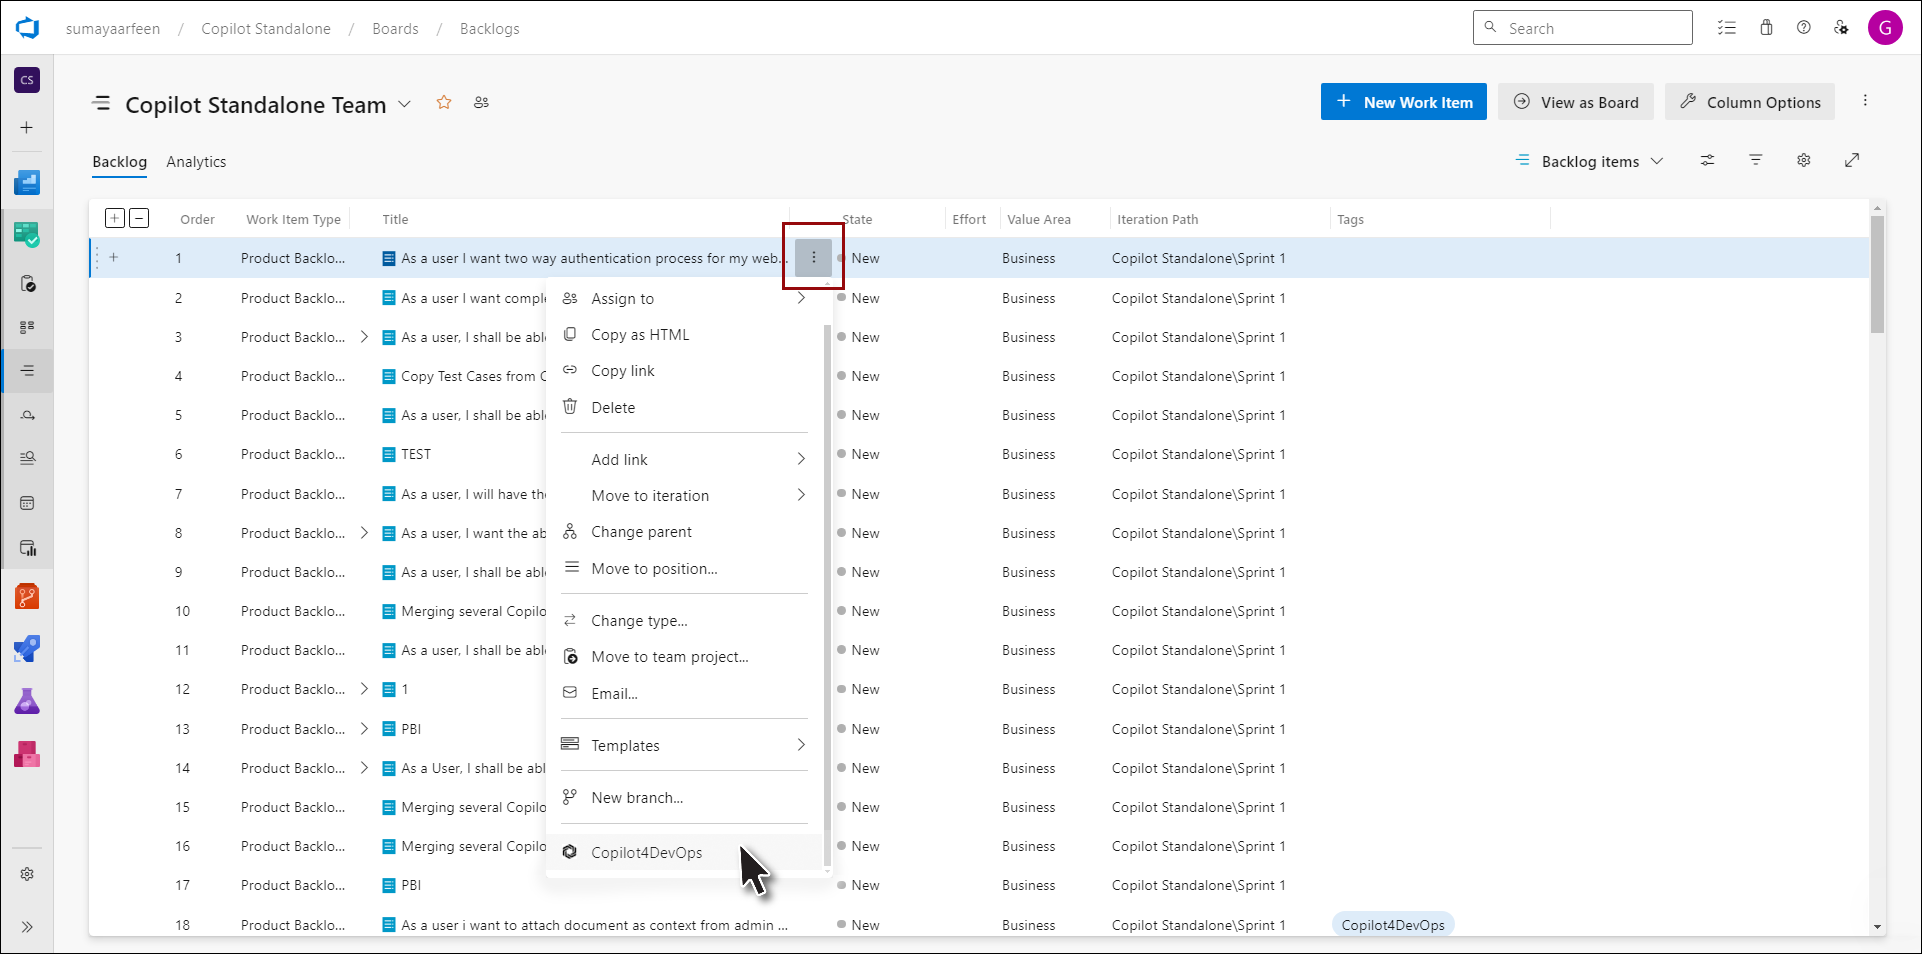
1. To begin, navigate to the Backlog or Queries section where all work items are listed. Browse through the list and identify the work item for which you want to generate an SOP / Document. This will serve as a reference for the SOP Document you are about to create.
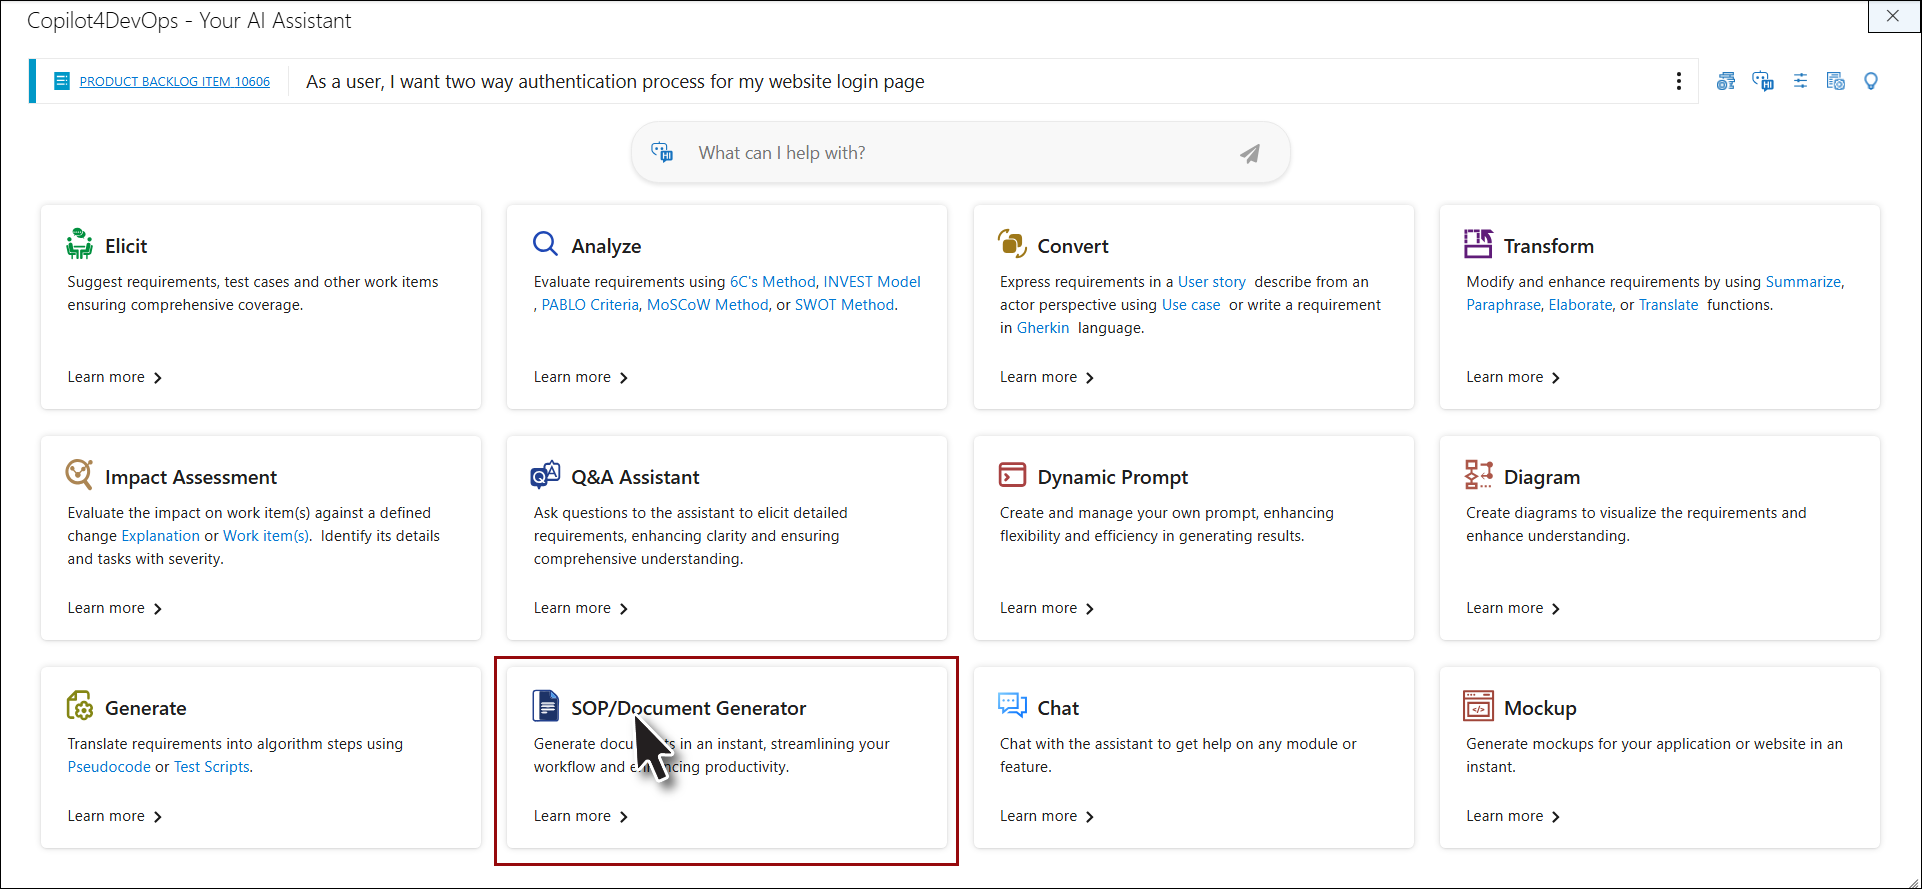
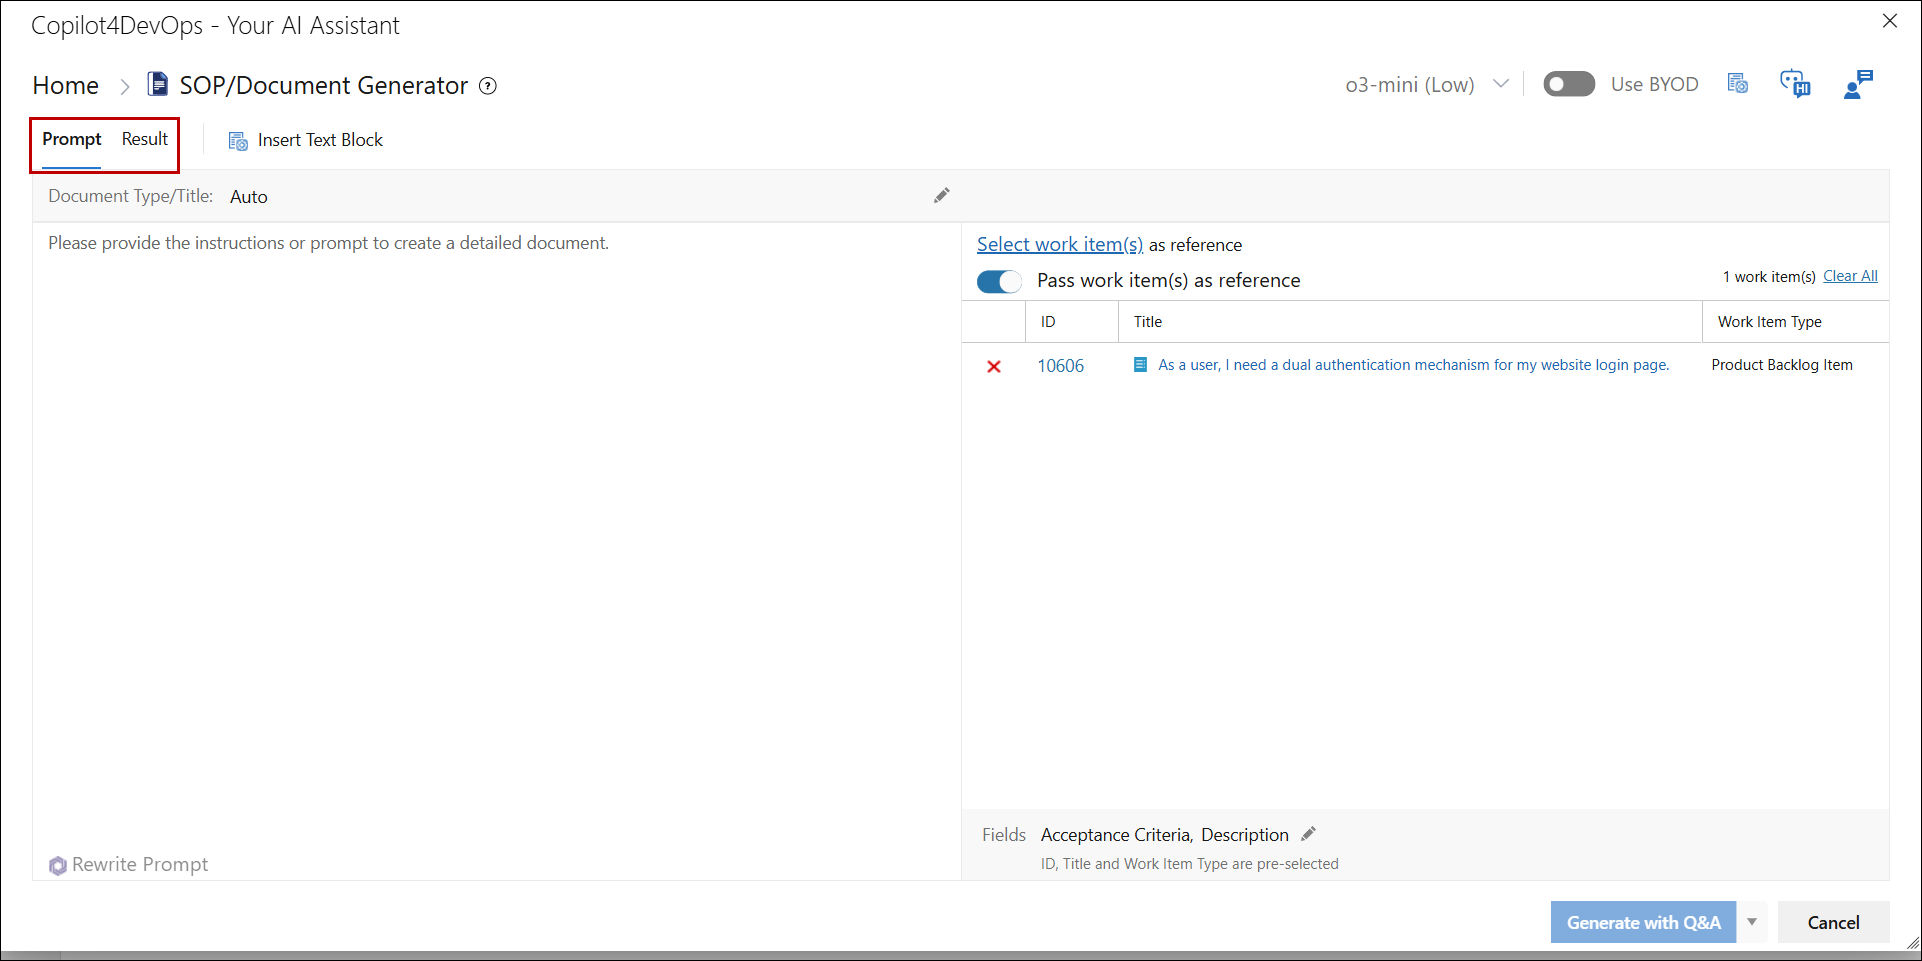
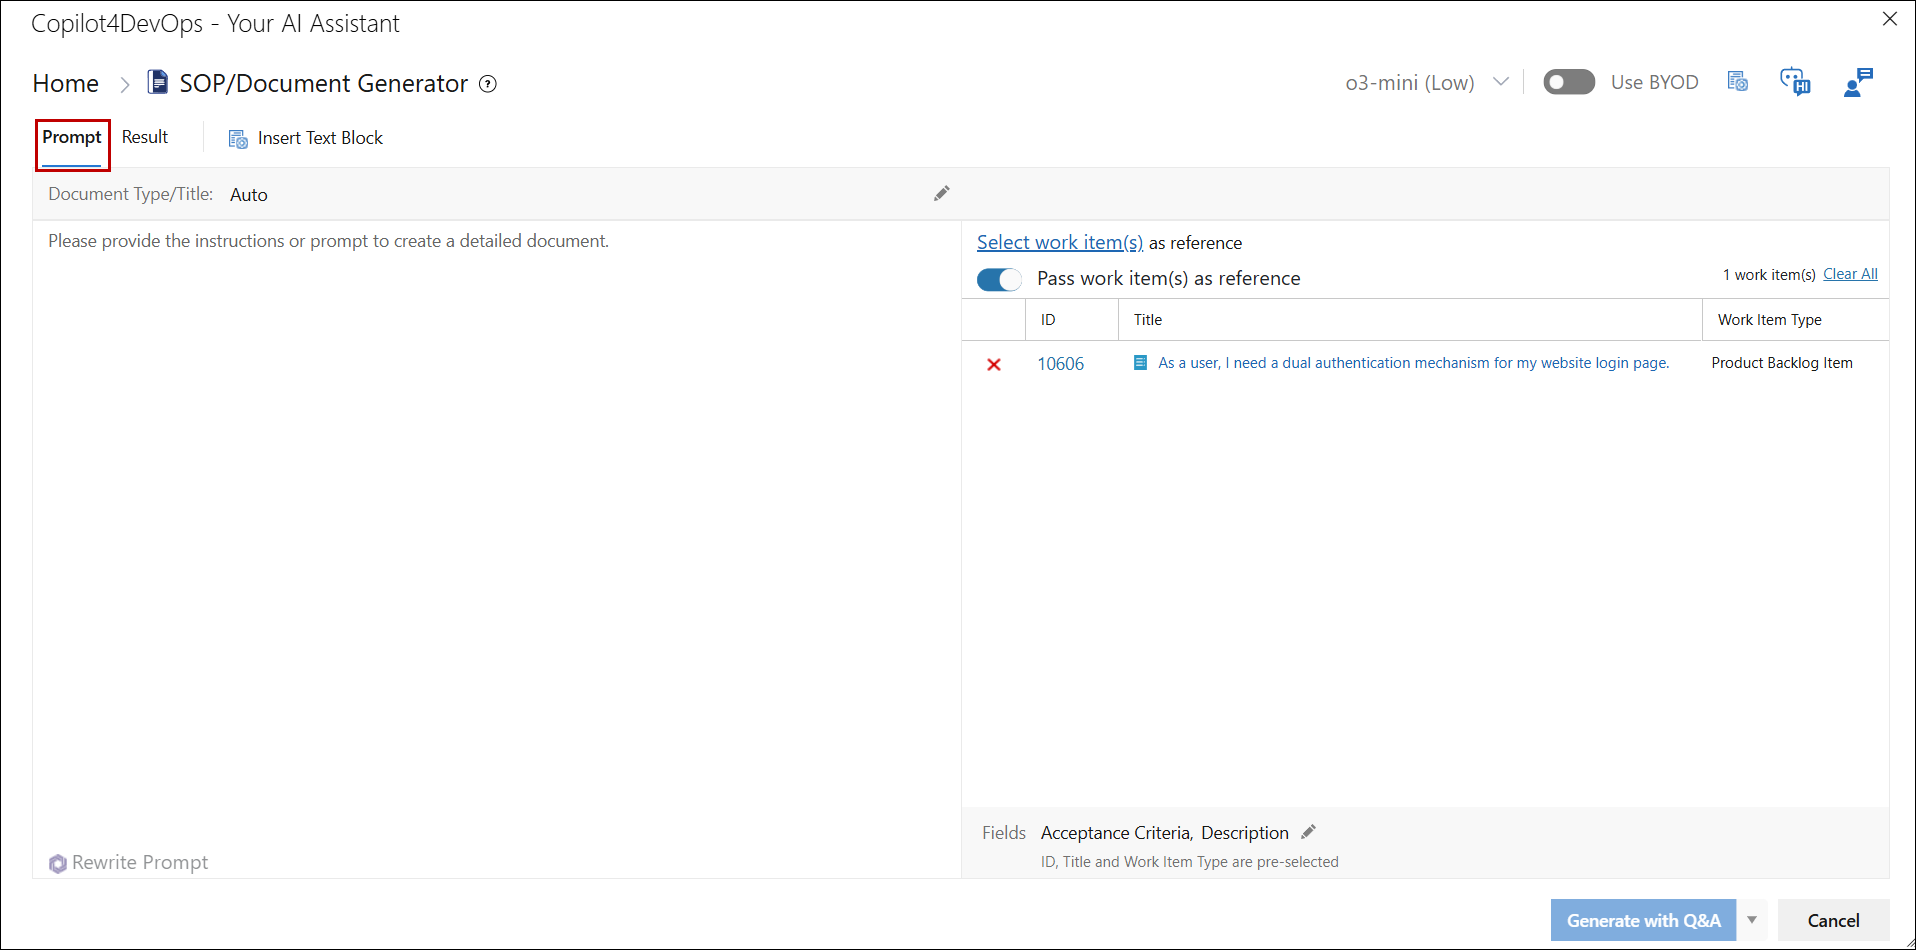
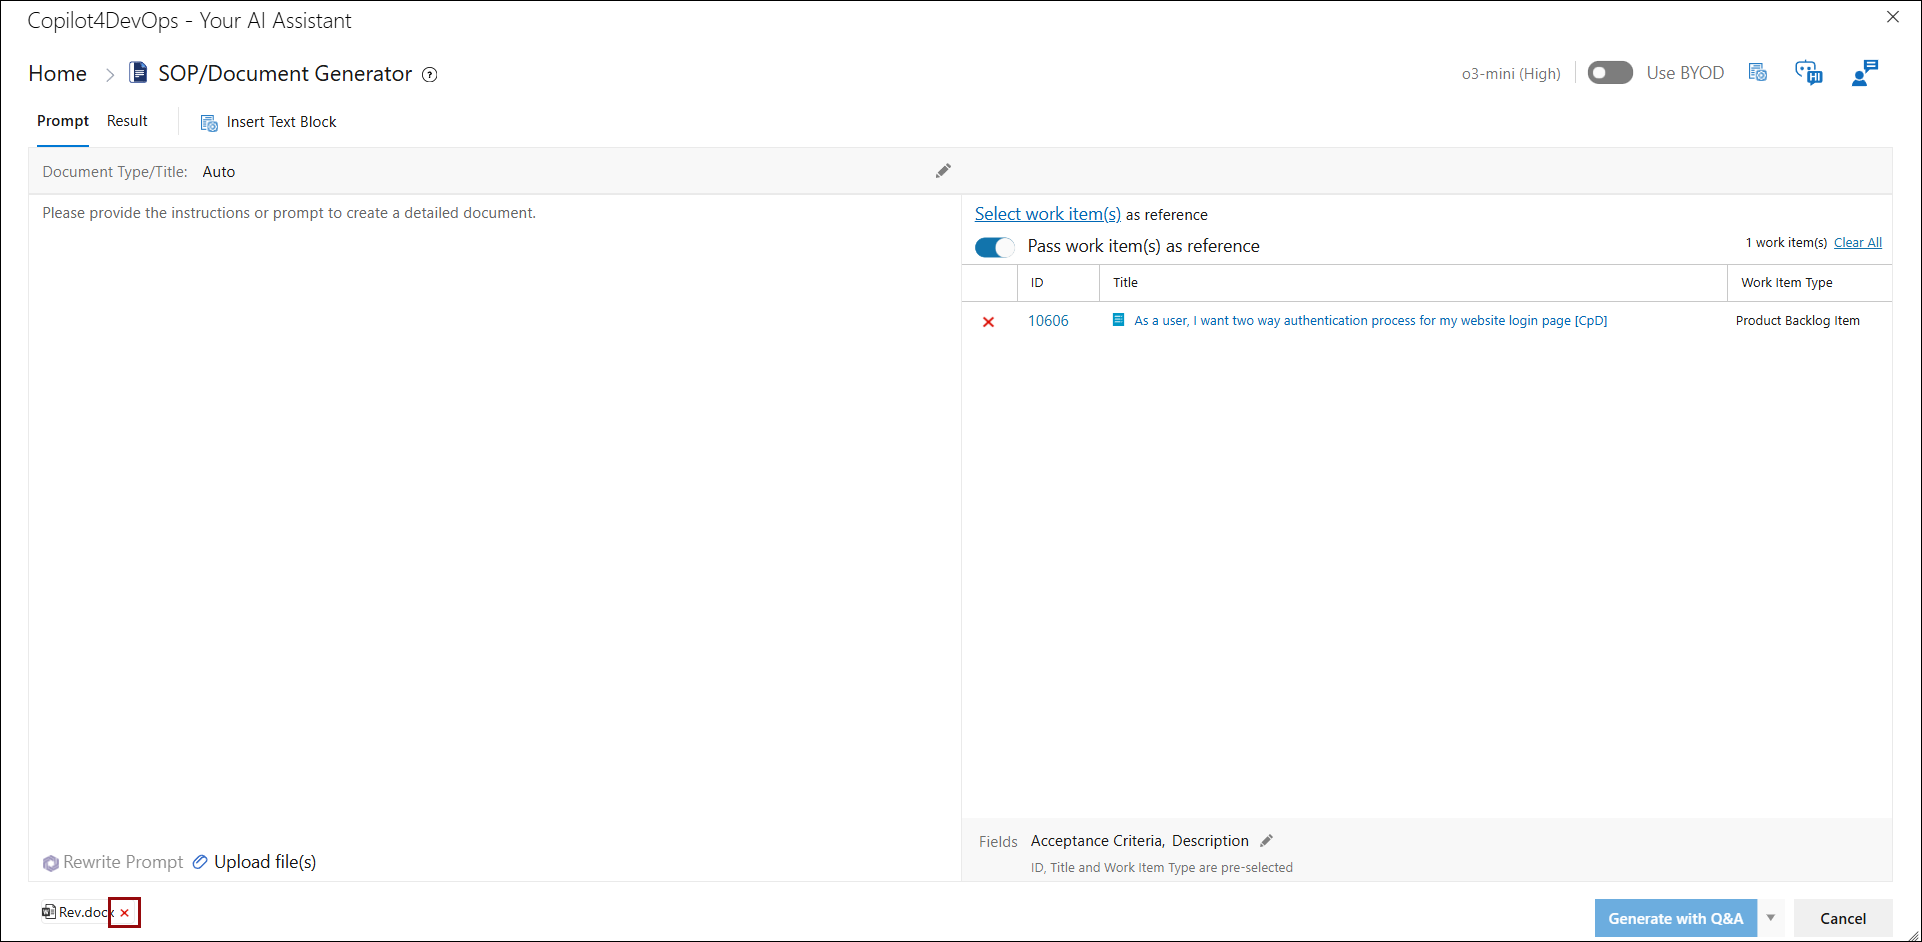
9. When the SOP / Document Generator window opens, the Prompt Tab is selected by default. This tab serves as the main input area for instructions that guide the document creation process.
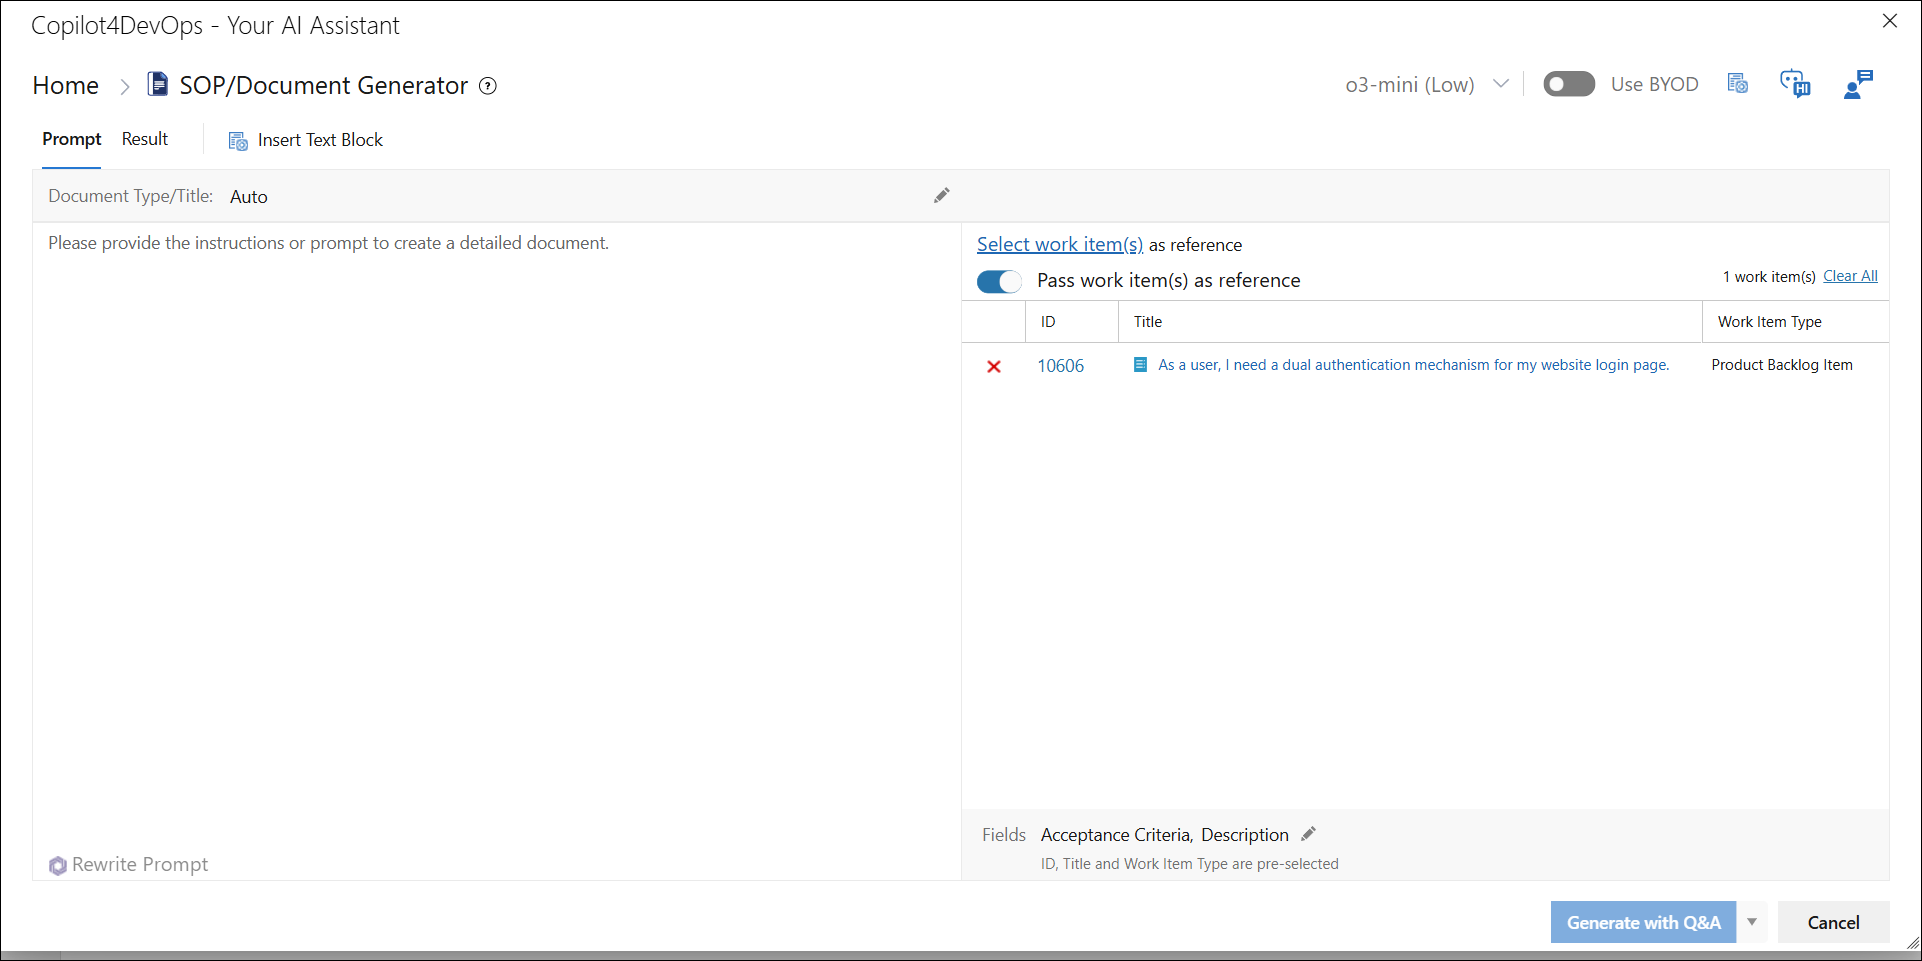
a. By default, the title setting is set to Auto. With this setting enabled, the system will automatically generate a title for the SOP/Document based on the document’s content and work item details.
b. If you prefer, you can manually enter a title for the document. Simply type in your desired title in the provided text field.
11. The window layout consists of two panels: 1) Left Panel
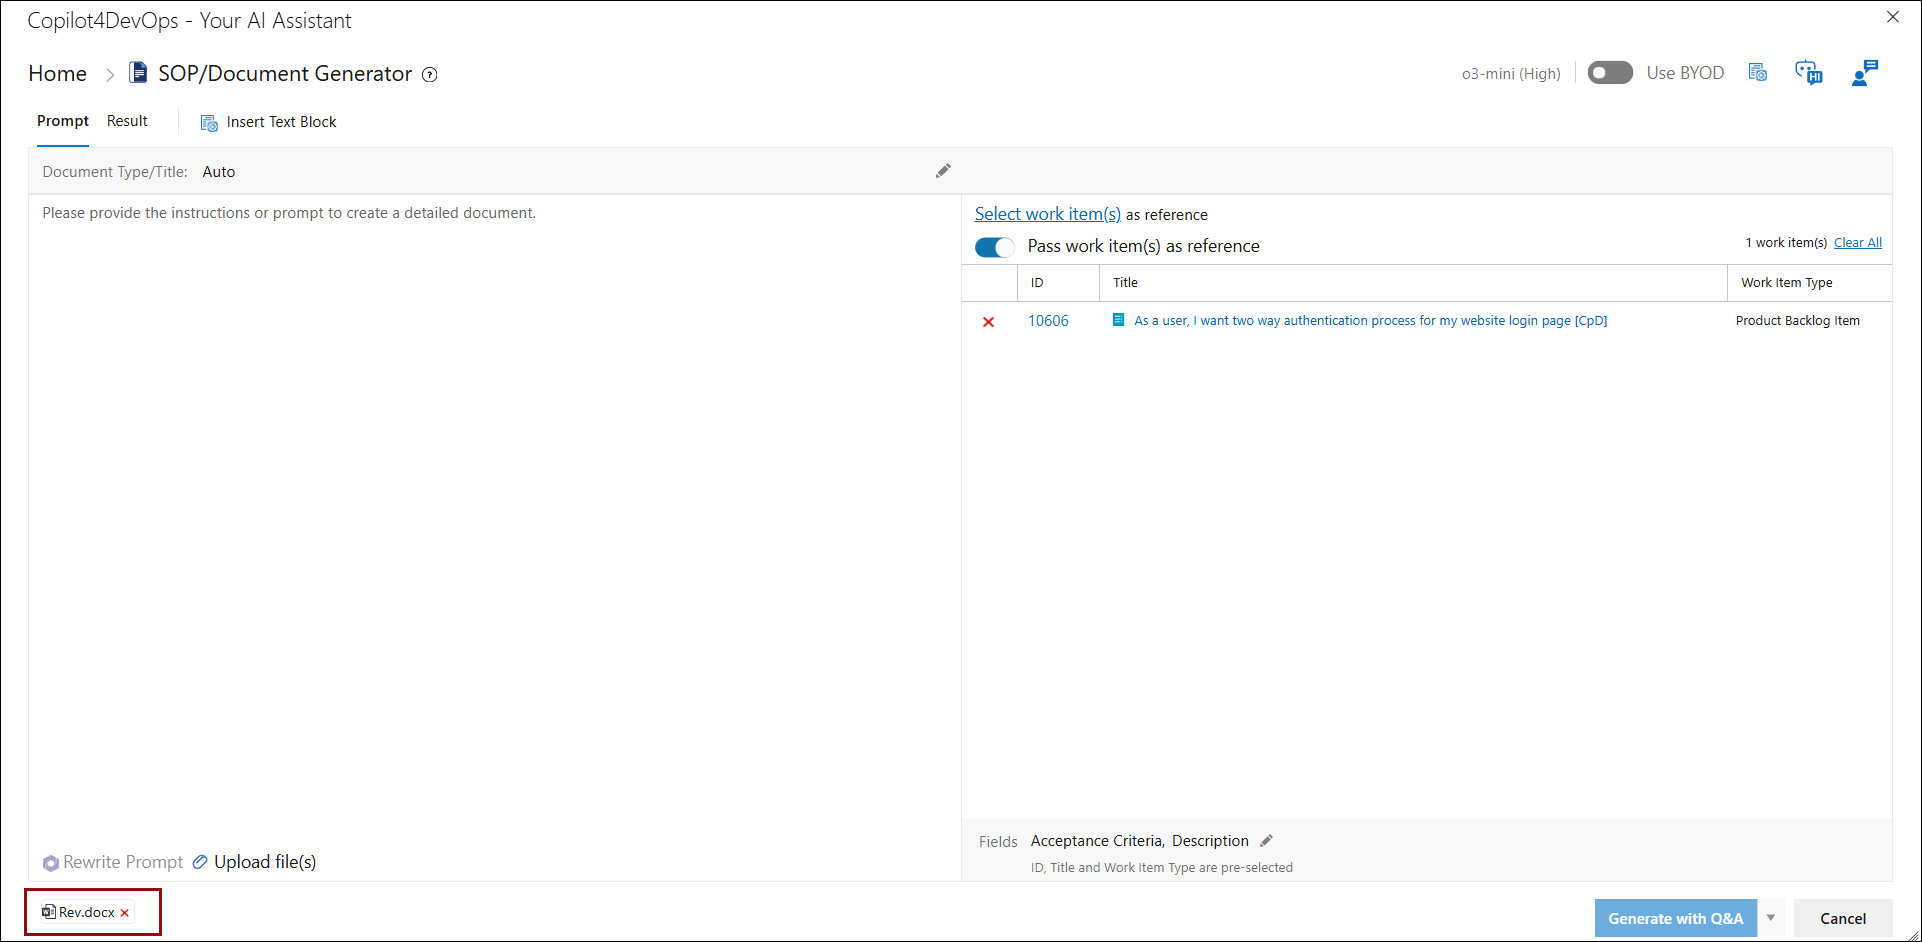
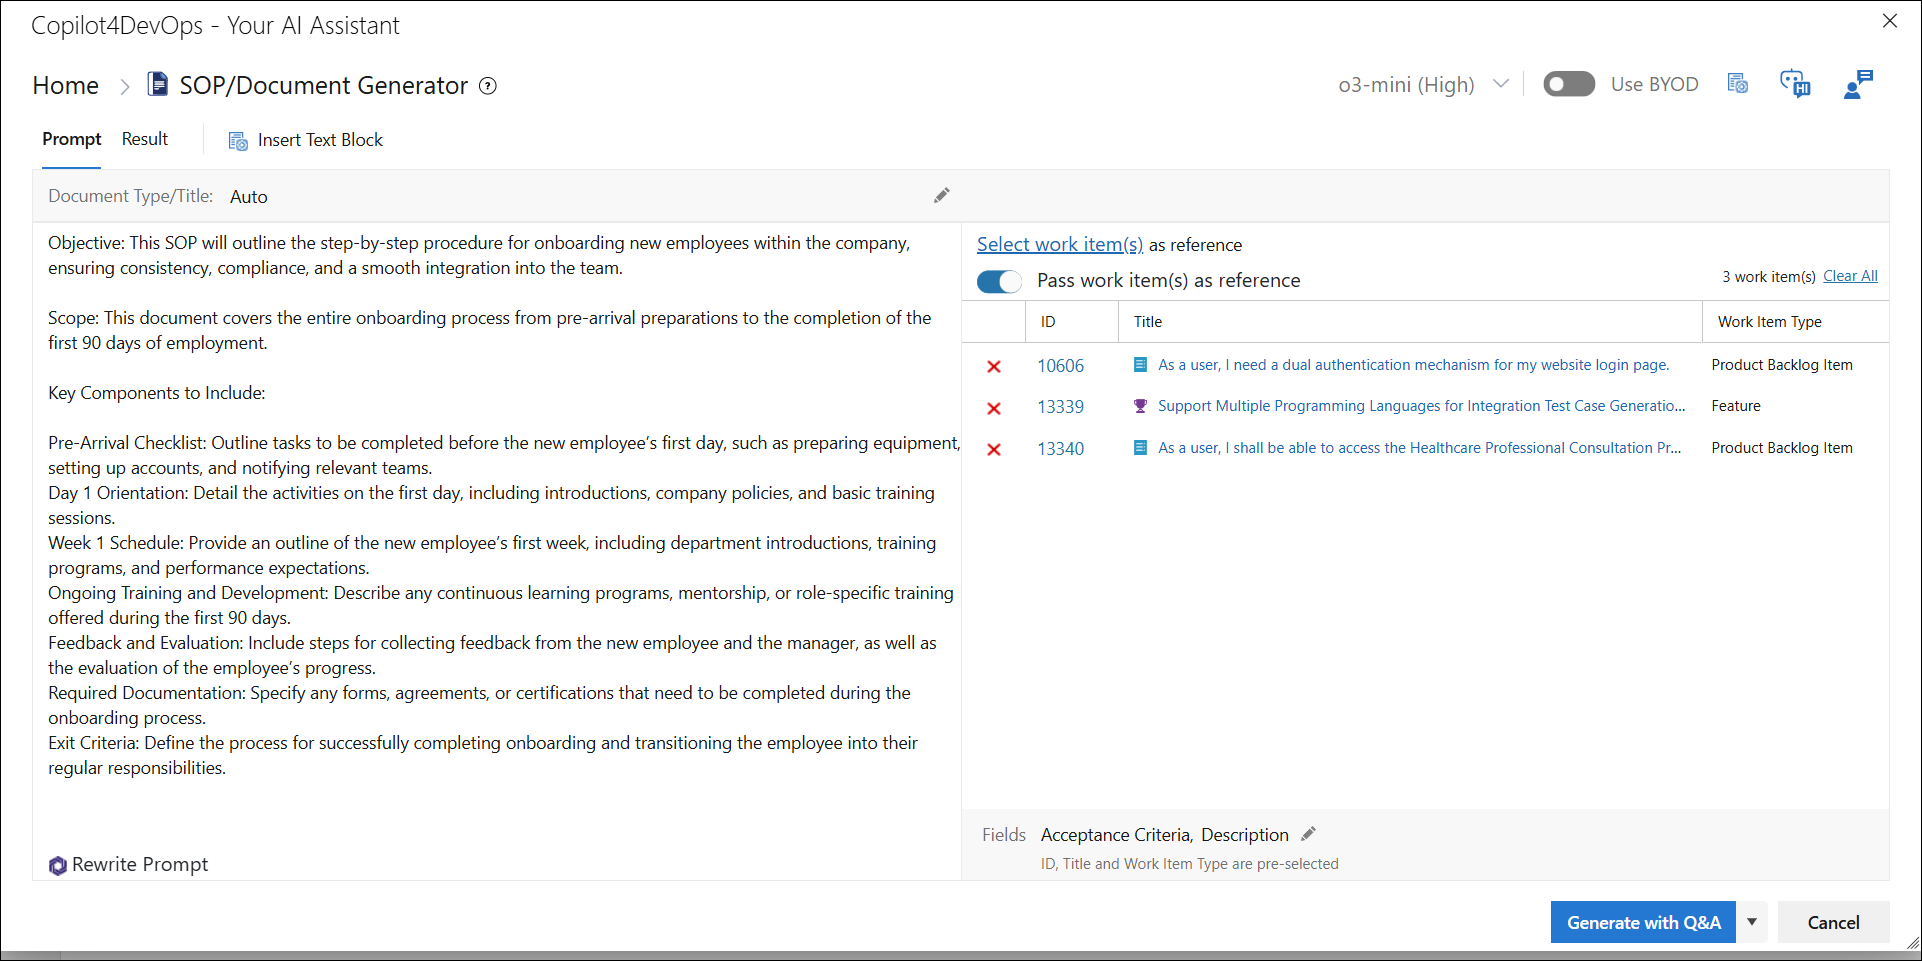
Left Panel The Left Panel is where you provide instructions for generating the document. Here, you need to enter a structured prompt that defines the key elements of your document. a. To ensure a well-structured document, enter clear and detailed instructions in the Left Panel. These instructions should outline the key components the SOP document should include. The more detailed and specific your input, the more accurate and useful the generated document will be.
Note: Using the AI model selected from the "AI Model Auto Selection and Ranking" section for “Rewrite Prompt” under the General tab in Admin panel.
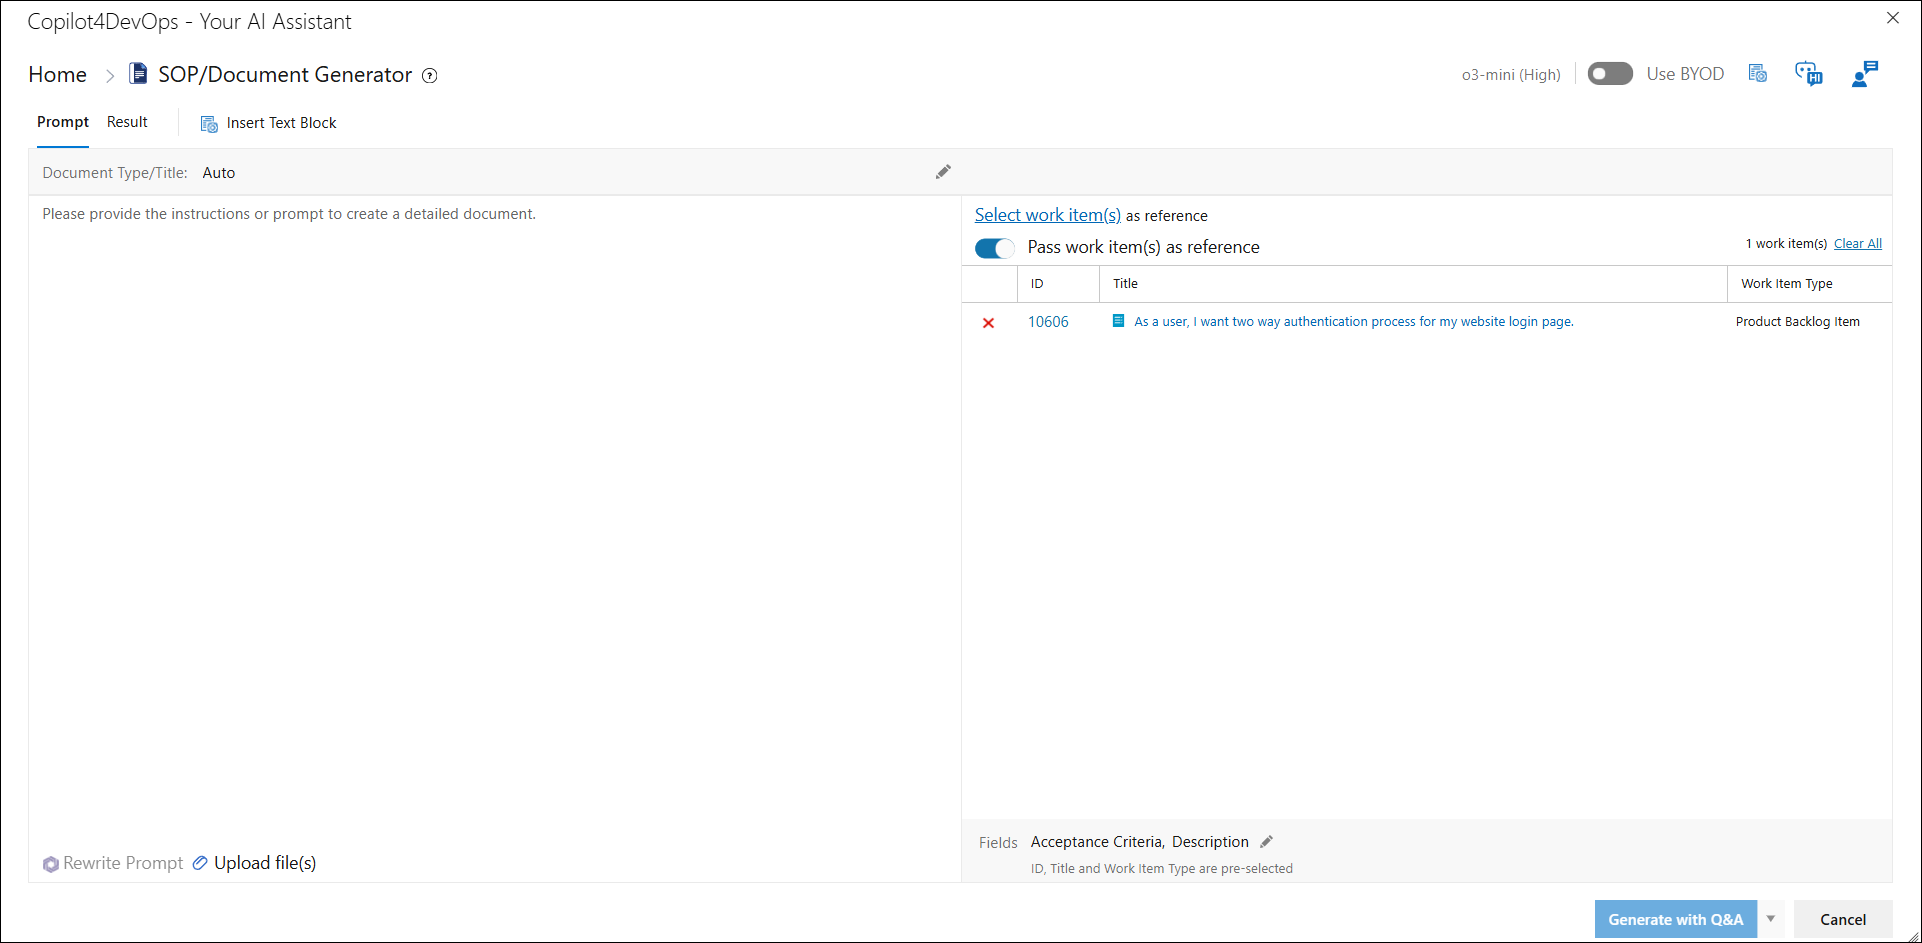
Upload File(s) The "Upload File(s)" feature has been introduced and is now seamlessly integrated into the Copilot – SOP/Document Generator. This capability allows users to attach relevant files that serve as contextual reference material to generate more accurate and tailored SOP/Document Generator outputs.
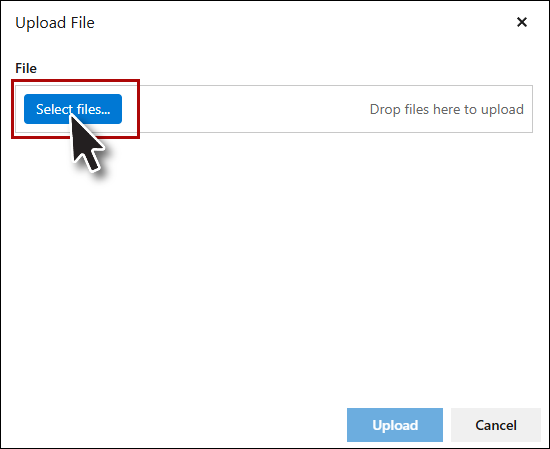
• The "Upload File(s)" button is located next to the "Rewrite Prompt" button within the Copilot – SOP/Document Generator interface.
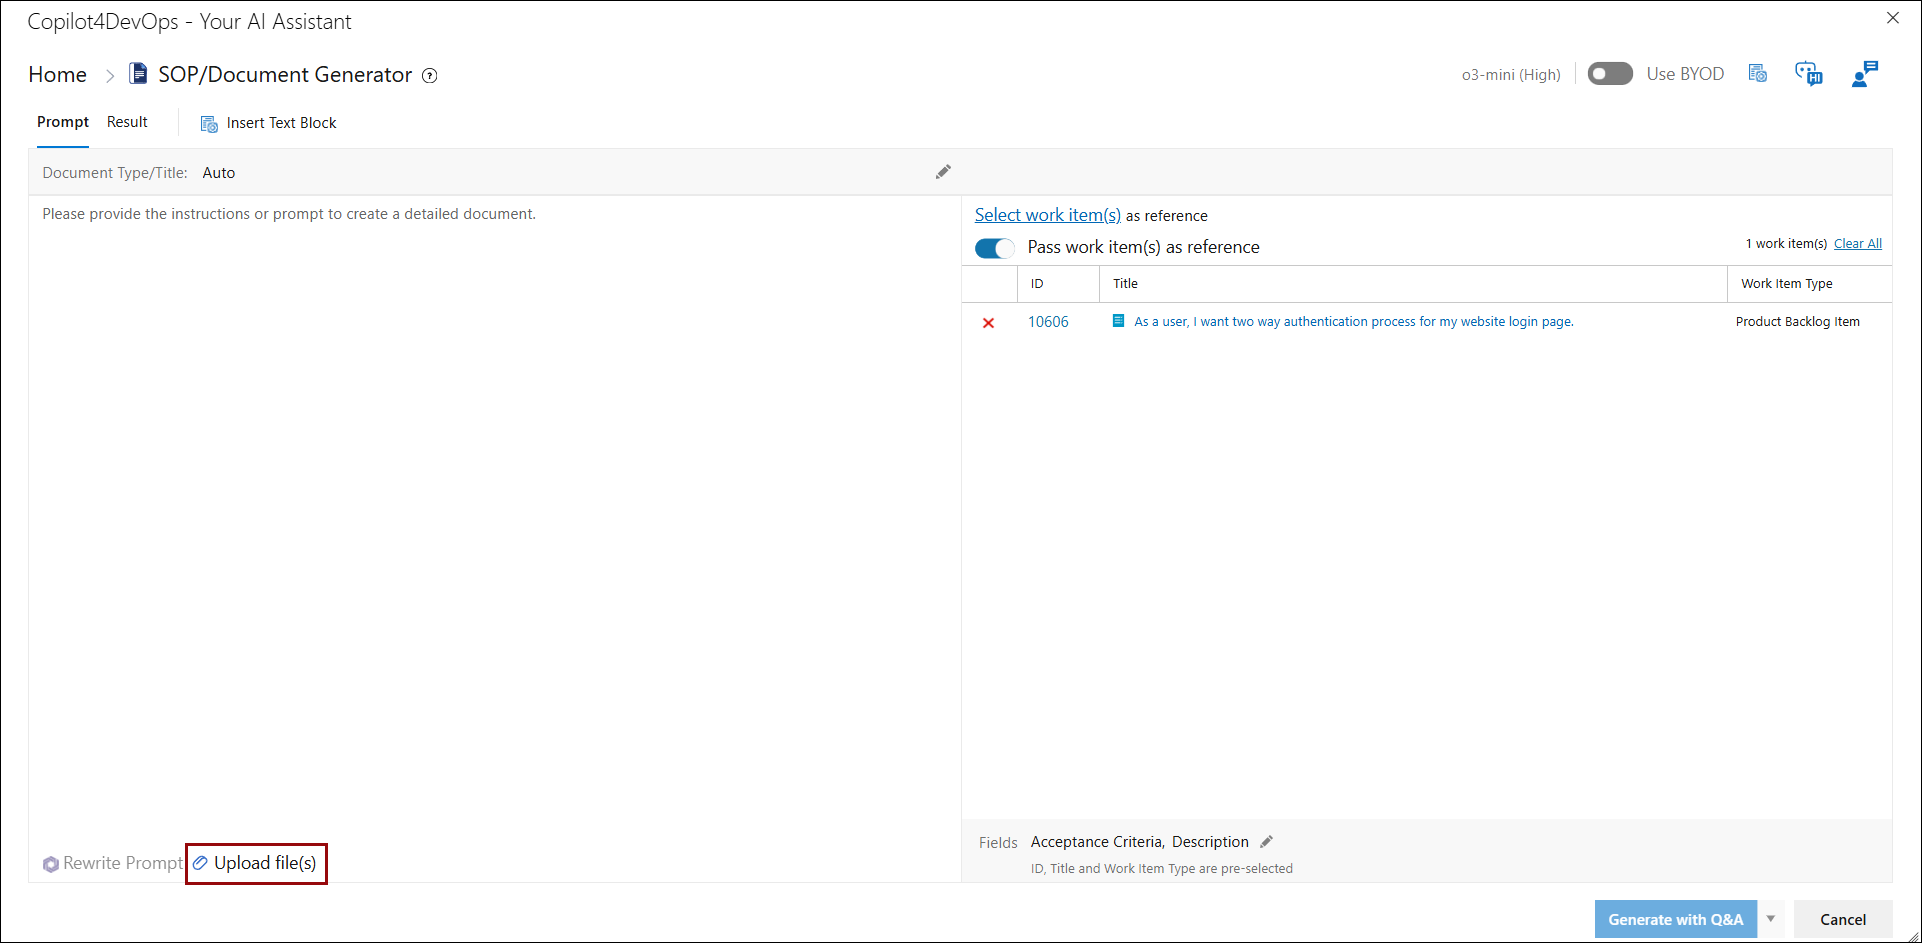
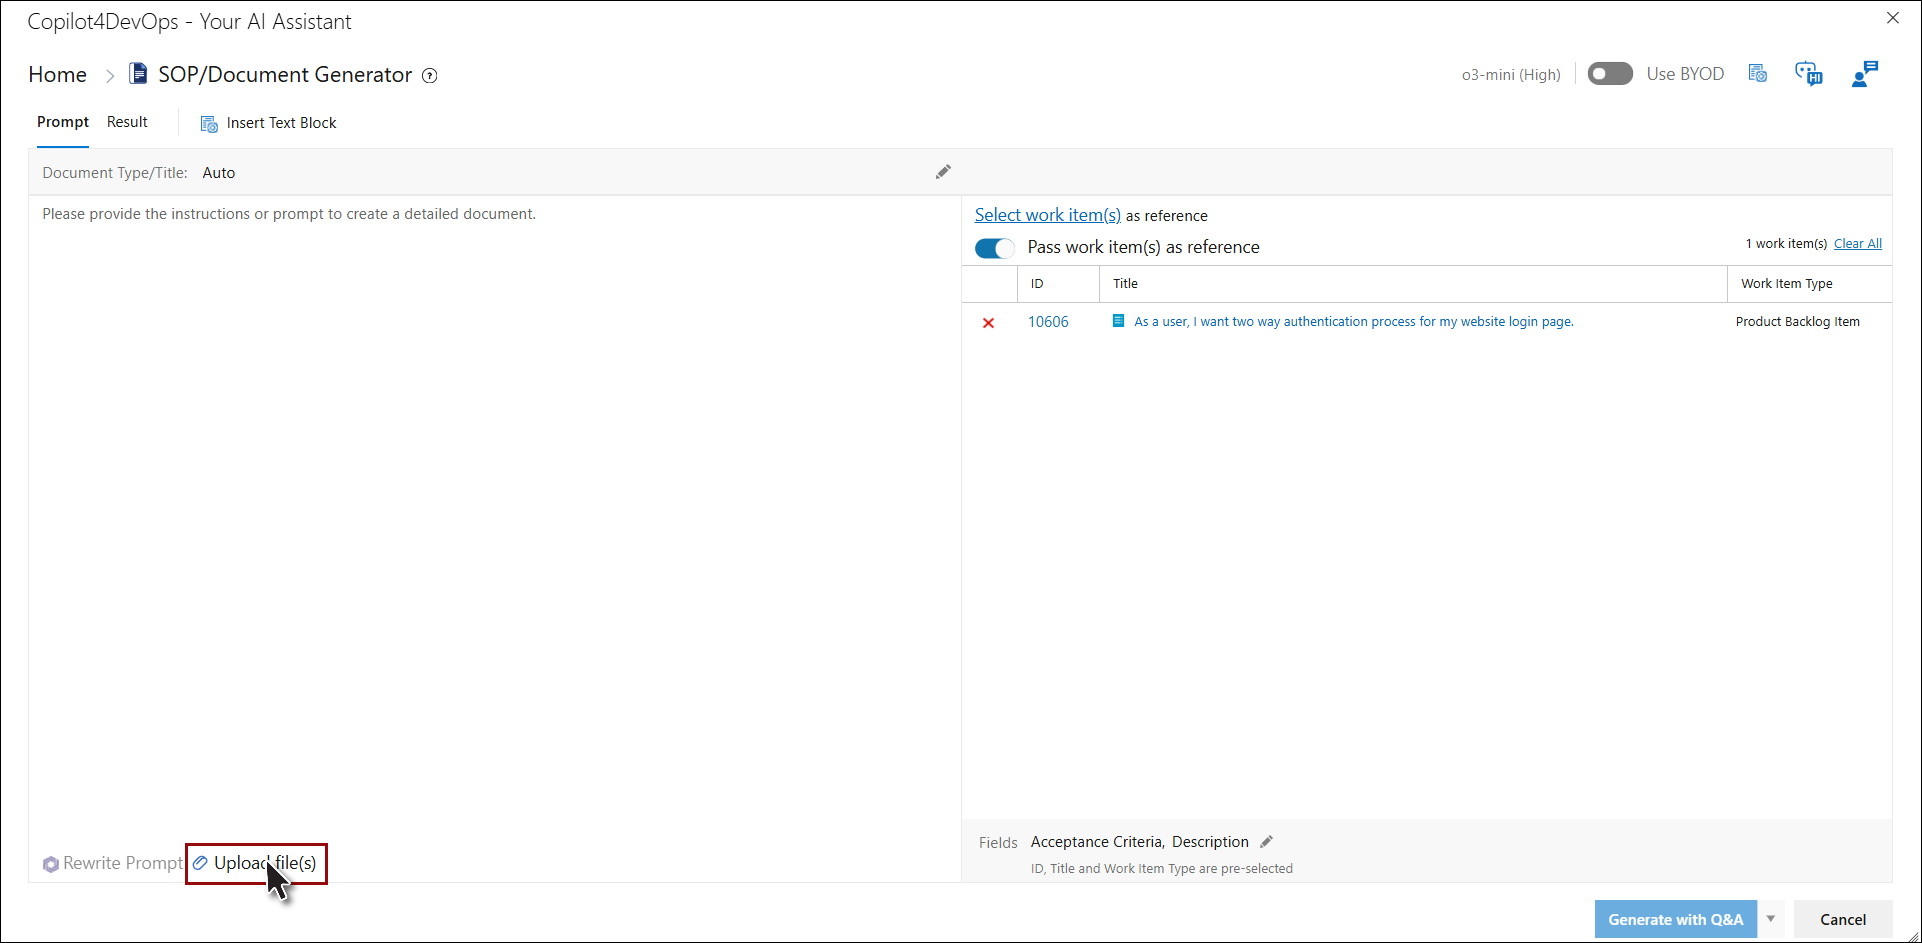
Steps to Upload a File • Click on the "Upload File(s)" button, found next to the "Rewrite Prompt" button
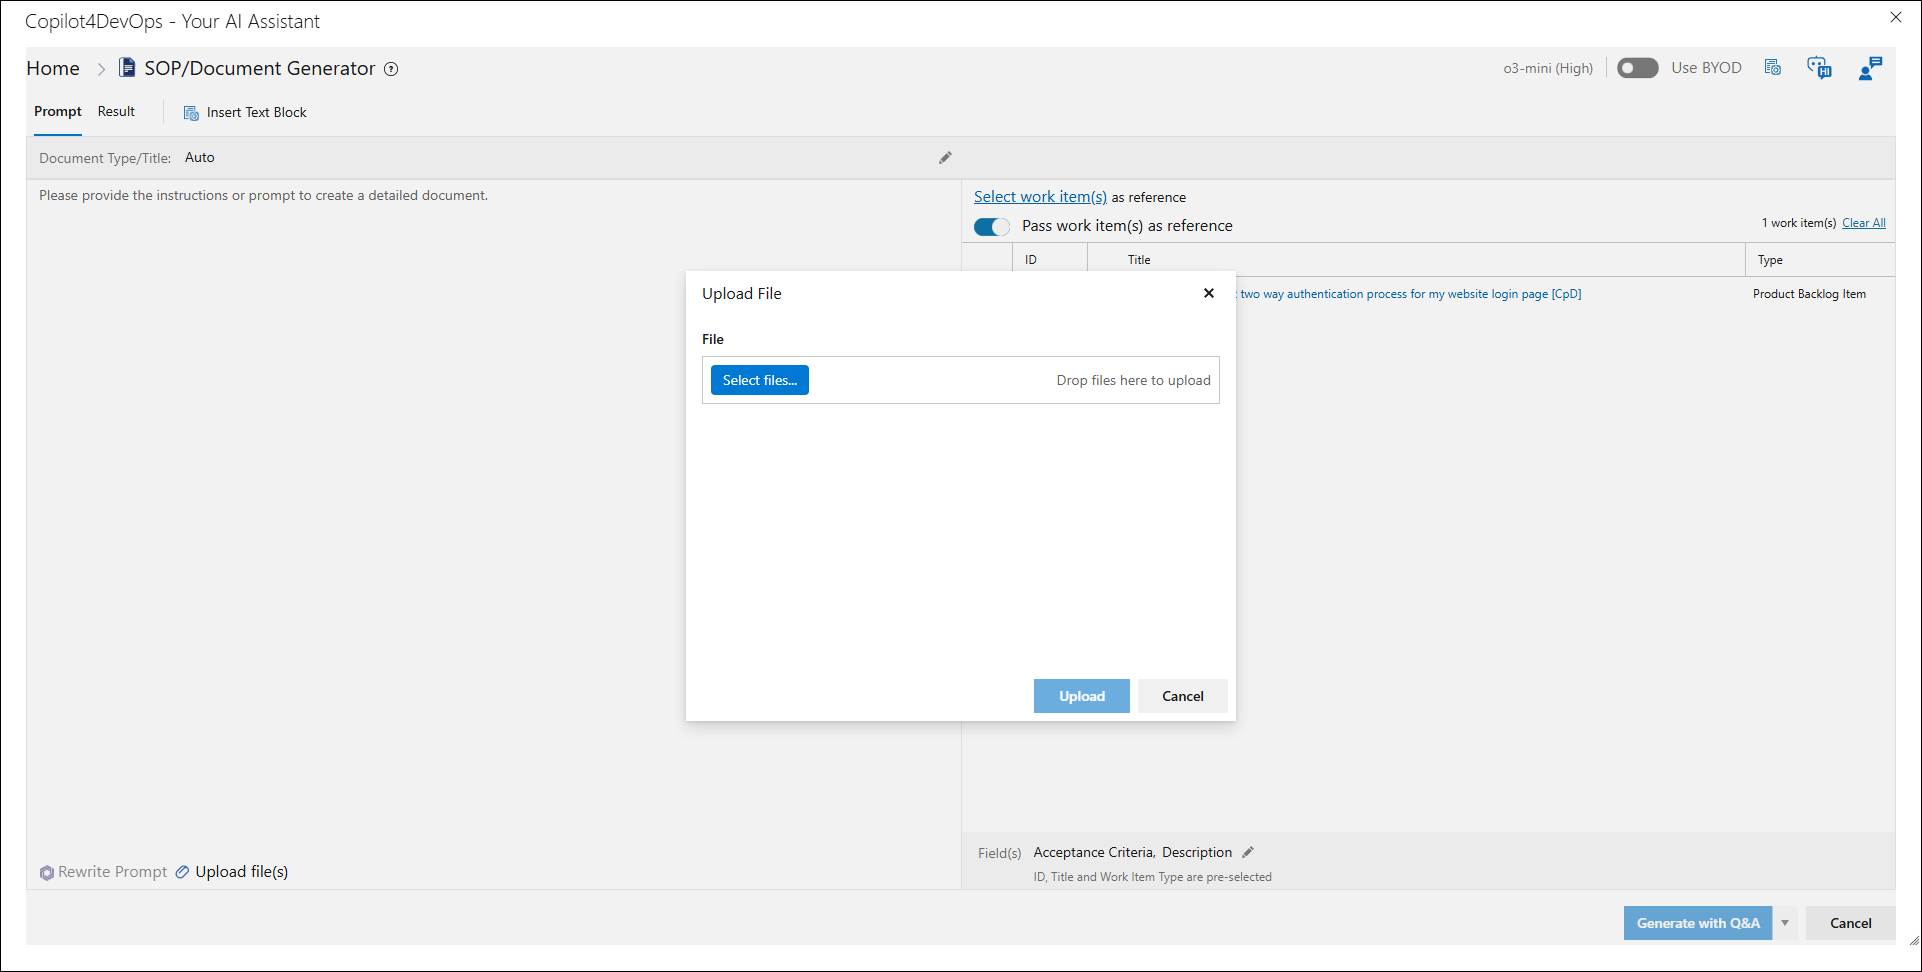
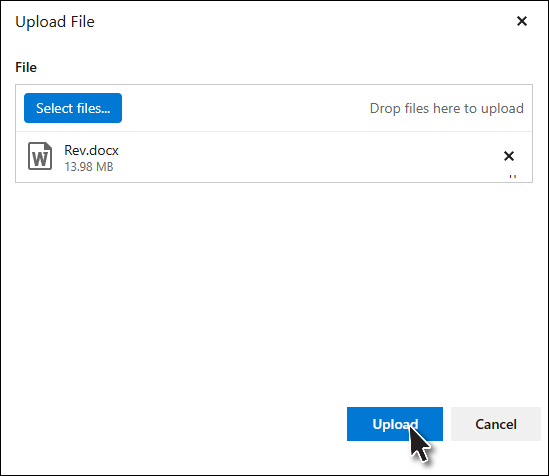
• After uploading your file(s), click the "Upload" button to close the popup.
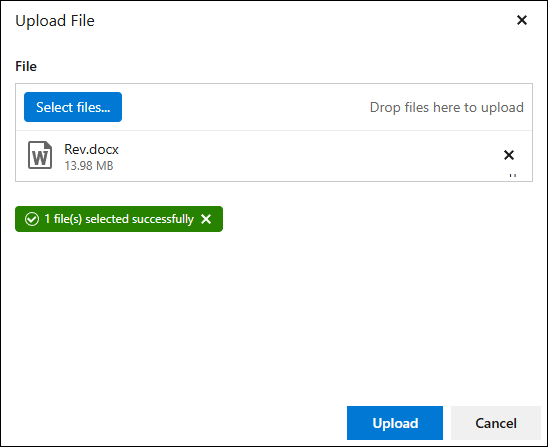
• All uploaded files will now be visibly listed below the "Rewrite Prompt" and "Upload File(s)" buttons, clearly indicating the files attached to the current session.
Note: supported file types, ".xls",".xlsx",".csv",".docx",".xml",".json",".pdf",".txt",".png",".jpg",".webp",".gif",".CSS","."JS".
• If a file was uploaded by mistake, it can be removed by clicking the "X" (cross) icon next to the file name.
Right Panel Additionally, you can enhance your SOP document by referencing existing work items, By default, the work item(s) that you selected when opening the Copilot window will be selected here.
a) Select one or more work items to provide additional context. This ensures that the generated SOP Document aligns with specific tasks and requirements within your workflow.
• An "Add Work Item(s)" pop up window will now open with the option of adding work items using Query or Work Item(s).
• Add the work items that you want to use as a reference for your document.
b) Make sure the toggle button for “Pass Work Item(s) as reference” is ON if you want to use the selected work items as a reference for document generation.
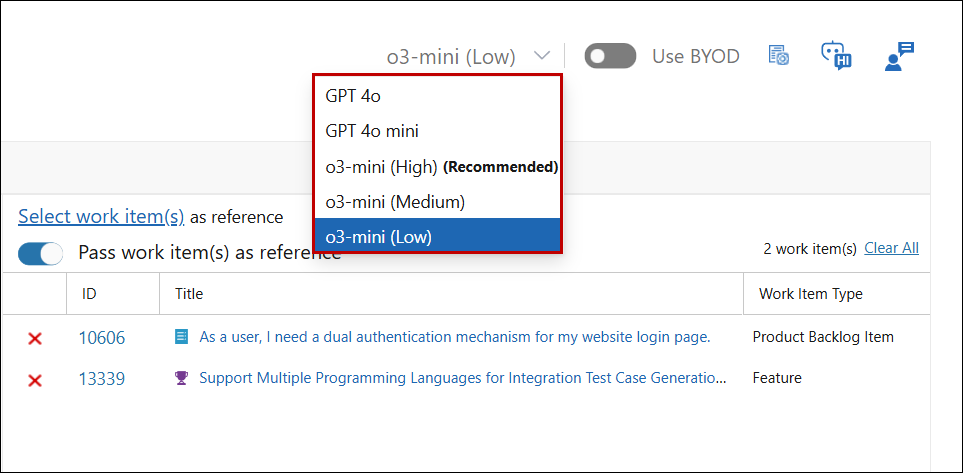
Note: If BYOD is enabled, the recommended BYOD model will be set; otherwise, the non-BYOD model will remain as the recommended one.
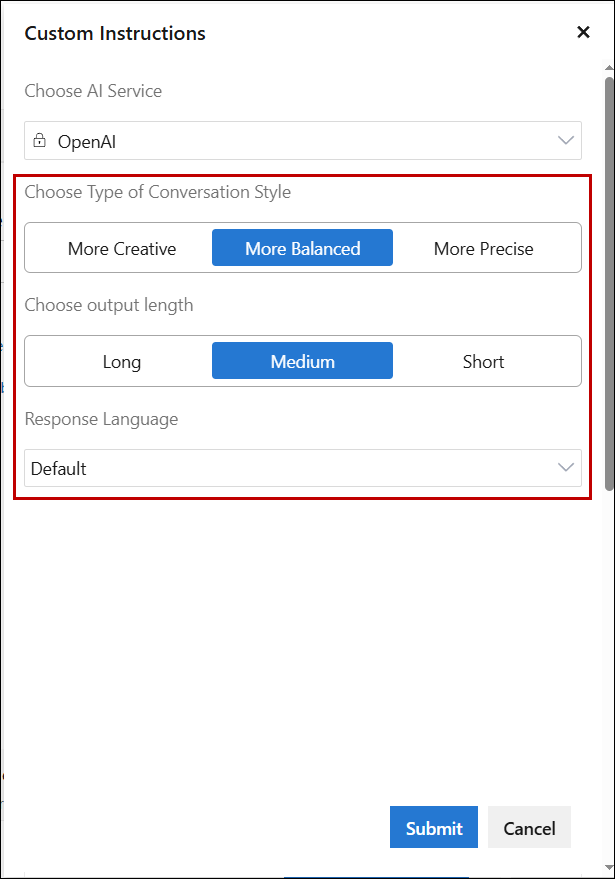
17. From the right panel user will be able to see the AI Service selected in the Admin also able to Choose type of conversation style such as “More Creative”, “More Balanced” or “More Precise”. Furthermore, user can Choose output length such as “Long”, “Medium” or “Short”. Users also have the option to specify the Response language. By adjusting these settings, you can ensure that the SOP/Document adheres to your organization’s communication standards and preferred writing style.
Generate with Q&A a. If you select Generate with Q&A, a pop-up window will appear, automatically generating 10 questions based on the given prompt / instructions.
Note: The questions generated are derived from the instructions provided in the Prompt Tab. These questions help ensure that the document covers essential details. Review the questions listed in the pop-up window and select the ones you wish to include in the final SOP document.
c. By default, the system provides pre-selected answers for generated questions. However, you can manually edit these answers before finalizing the document. This ensures that the responses align with specific operational guidelines and requirements.
e. Click on the Generate button within the pop-up window. This will incorporate the selected Q&A section into the SOP document, enhancing its comprehensiveness and clarity.
Note: The system will automatically switch to the Results tab to display the generated document. Generatea. If you prefer not to include a Q&A section, simply click on the Generate button without selecting the Q&A option.
b. This will produce a standard SOP document based on your configurations without additional question-and-answer content. Note: The system will automatically switch to the Results tab to display the generated document.
20. When document generation is complete, two options appear at the bottom of the results screen: 1. Regenerate 2. Save
1) Regenerate • If you want to make changes to the document, use the Regenerate button to generate a revised version.
• To save the document, click on the Save button.
• You will then see two format options: Save as Word (.docx) or Save as PDF (.pdf).
• Choose the preferred format and proceed with saving the document to your system.
• Interact with them by clicking an image to view it in a pop-up.
• Zoom in or out for better visibility.
• Download it separately. Available download formats include .SVG, and .HTML.
|

.png)
.png)
.png)
.png)
.png)
.png)
.png)
.png)
.png)
.png)
.png)
.png)
.png)
.png)
.png)
.png)

.png)
.png)
.png)
.png)
.png)
.png)
.png)
.png)
.png)
.png)
.png)
.png)
.png)
.png)
.png)
.png)
.png)
.png)
.png)
.png)
.png)
.png)
.png)
.png)
.png)